⚠️ Sunset Notice: This service will be discontinued as of September 30th, 2023. Learn more »
Did you come here for Live Video Shopping?
This is documentation for Bambuser Live Streaming SDK.
If you're looking for documentation regarding Live Video Shopping (opens new window) , see these pages (opens new window)
How to create a live broadcasting app in Java using Android Studio
This guide is based on Android Studio 3.5.3.
This guide focuses on the bare minimum required to start broadcasting. We're using Android Studio, which you can find on developer.android.com/studio (opens new window). Make sure to familiarize yourself with the example apps in the SDK bundles for a more complete overview.
Supported instruction set architectures
The Bambuser SDK contains native code built for the armeabi-v7a, arm64-v8a, x86
and x86_64 ABIs (opens new window). See details on how to
build for supported architectures below.
Create a new Application
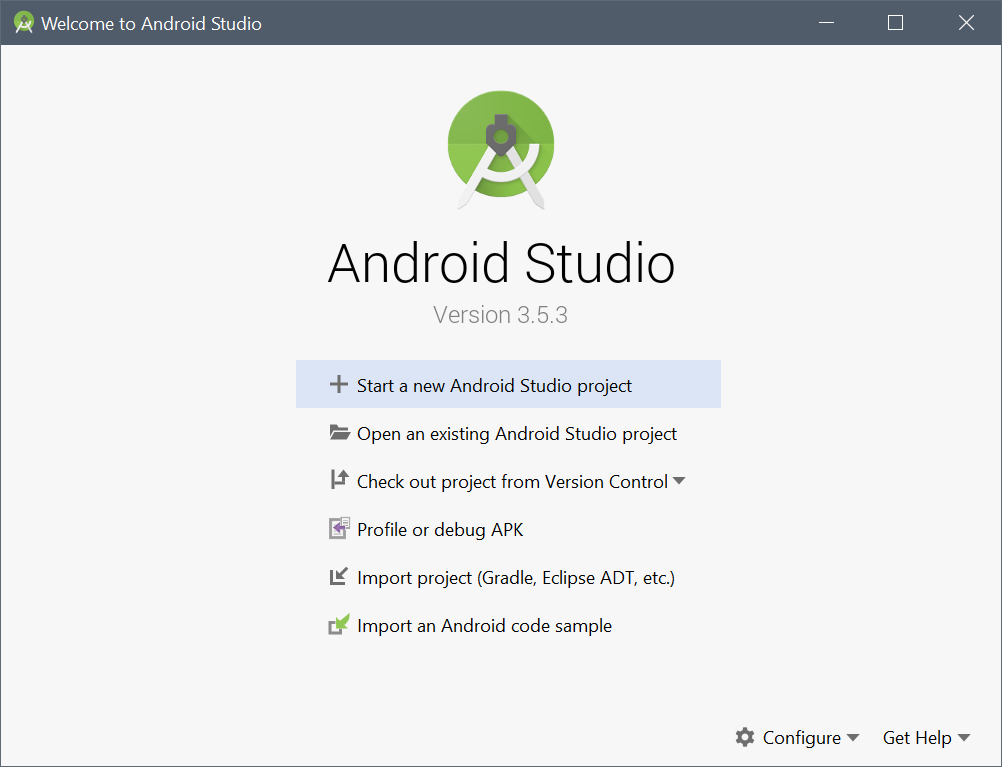
- Open Android Studio
- Choose Start a new Android Studio project
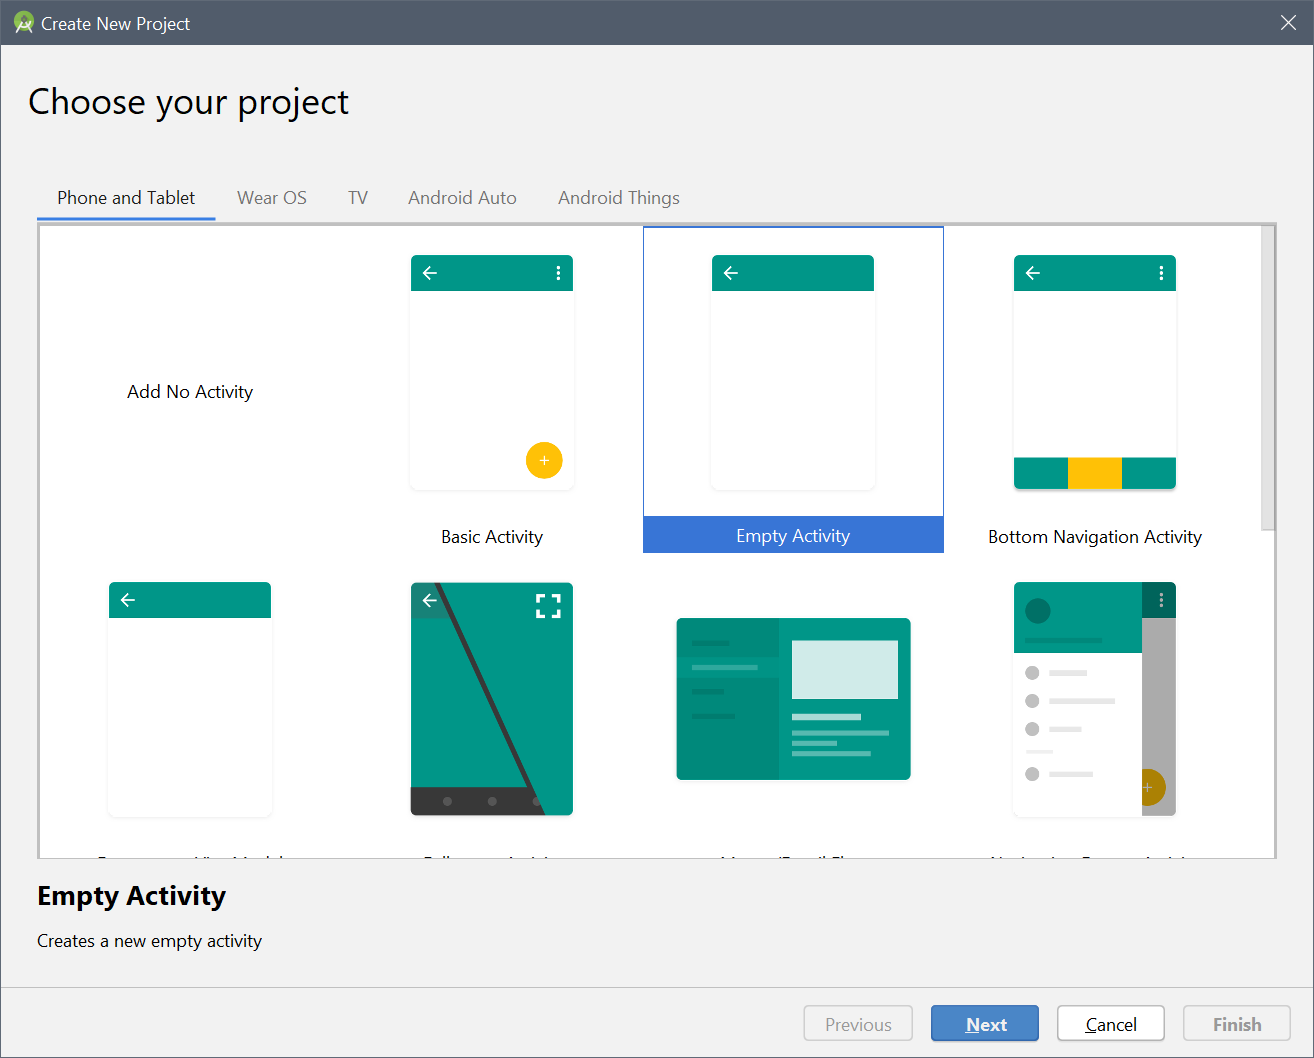
- Select the Phone and Tablet form factor.
- Choose the Empty Activity template.
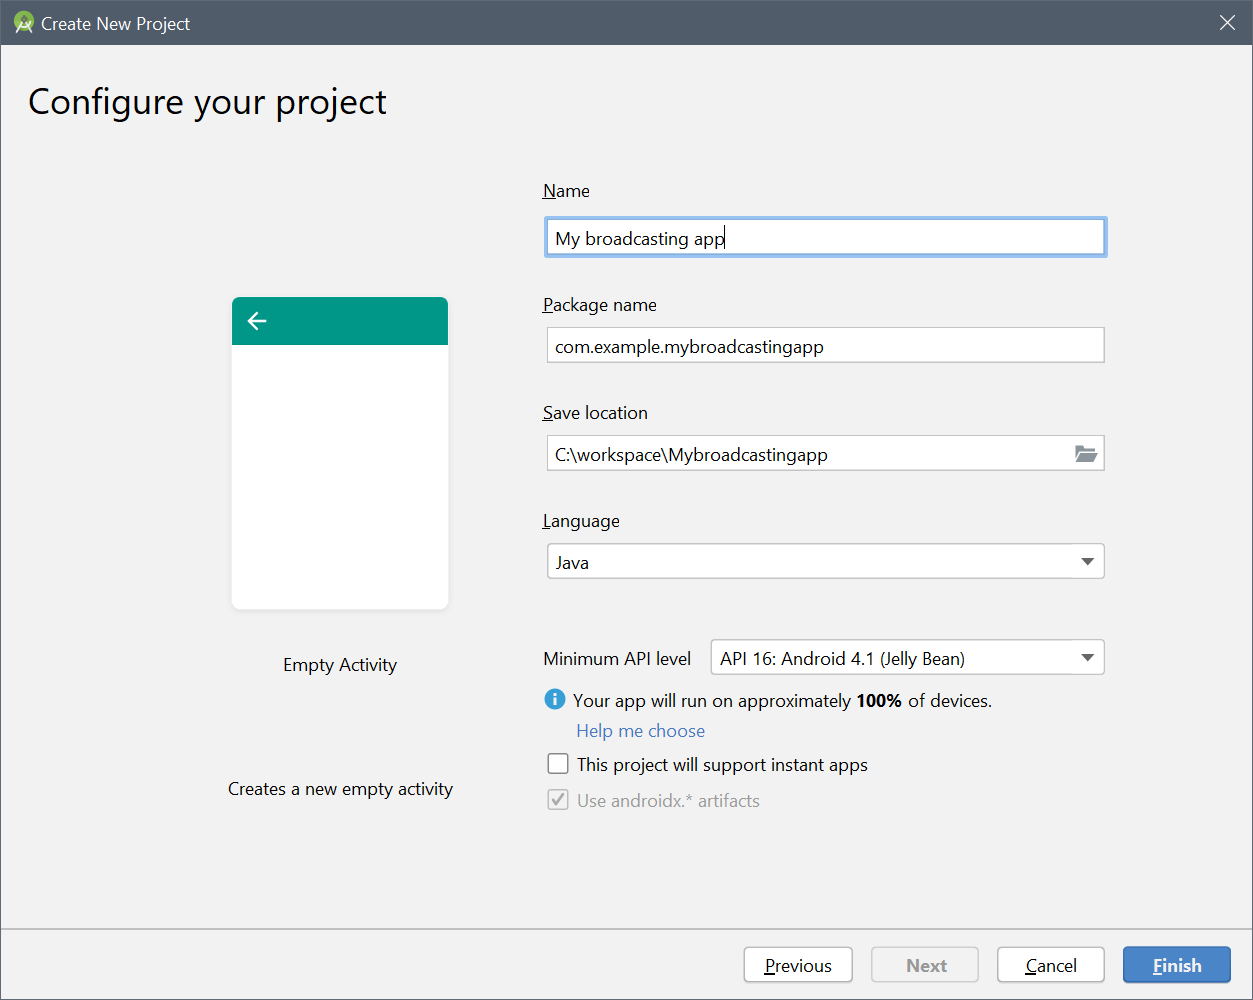
- Enter a suitable application name and your company domain.
- Set the Minimum SDK to at least API 21: Android 5.0, which is the oldest API supported by the Broadcaster (opens new window).
Add the broadcast SDK
- Log in to the Bambuser site and download the latest SDK bundle for Android from the Developer (opens new window) page.
- Open the downloaded zip file and extract it.
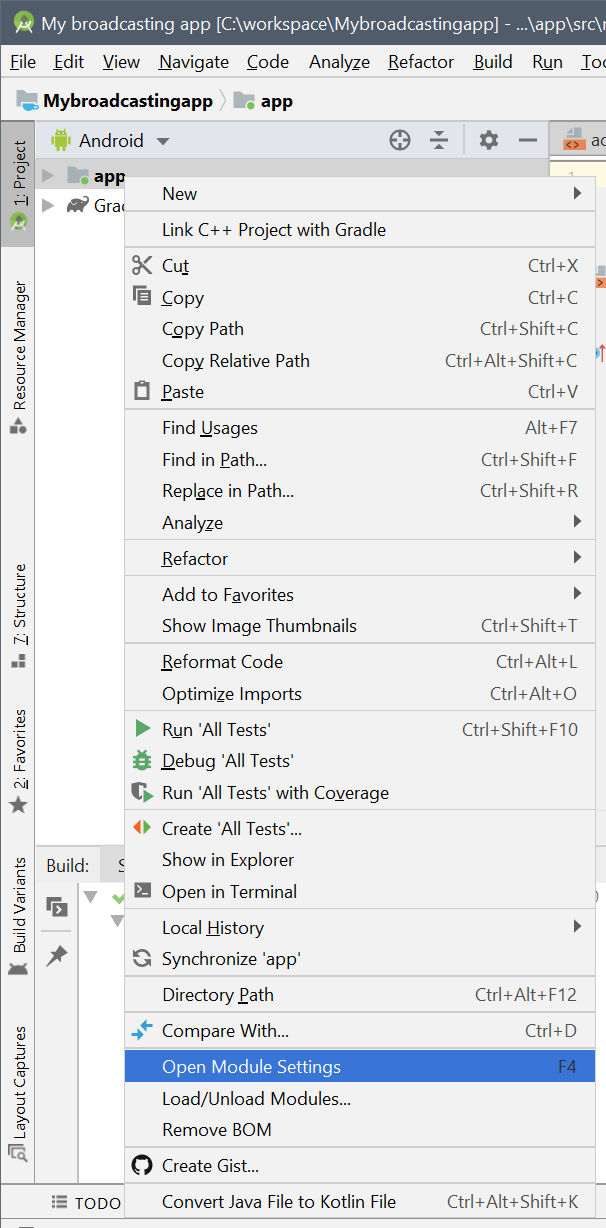
- In Android Studio, in the project tree on the left-hand-side, right click on your
appmodule and choose Open Module Settings to open the Project Structure screen. - Make sure the Modules tab is selected.
- Click the + in the upper left corner of the list of modules.
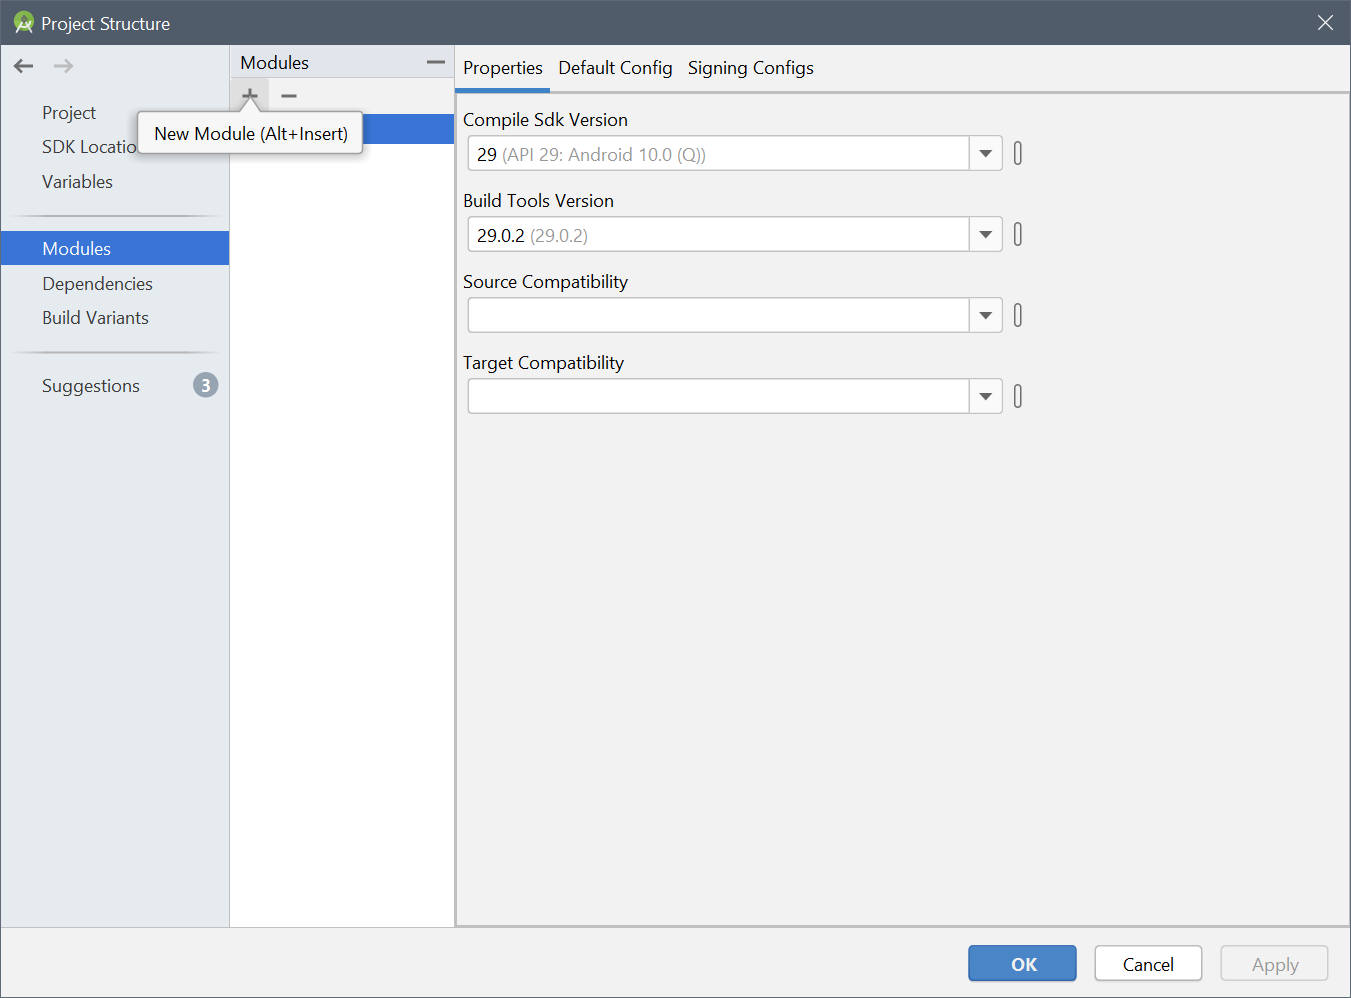
- Choose Import .JAR/.AAR Package.
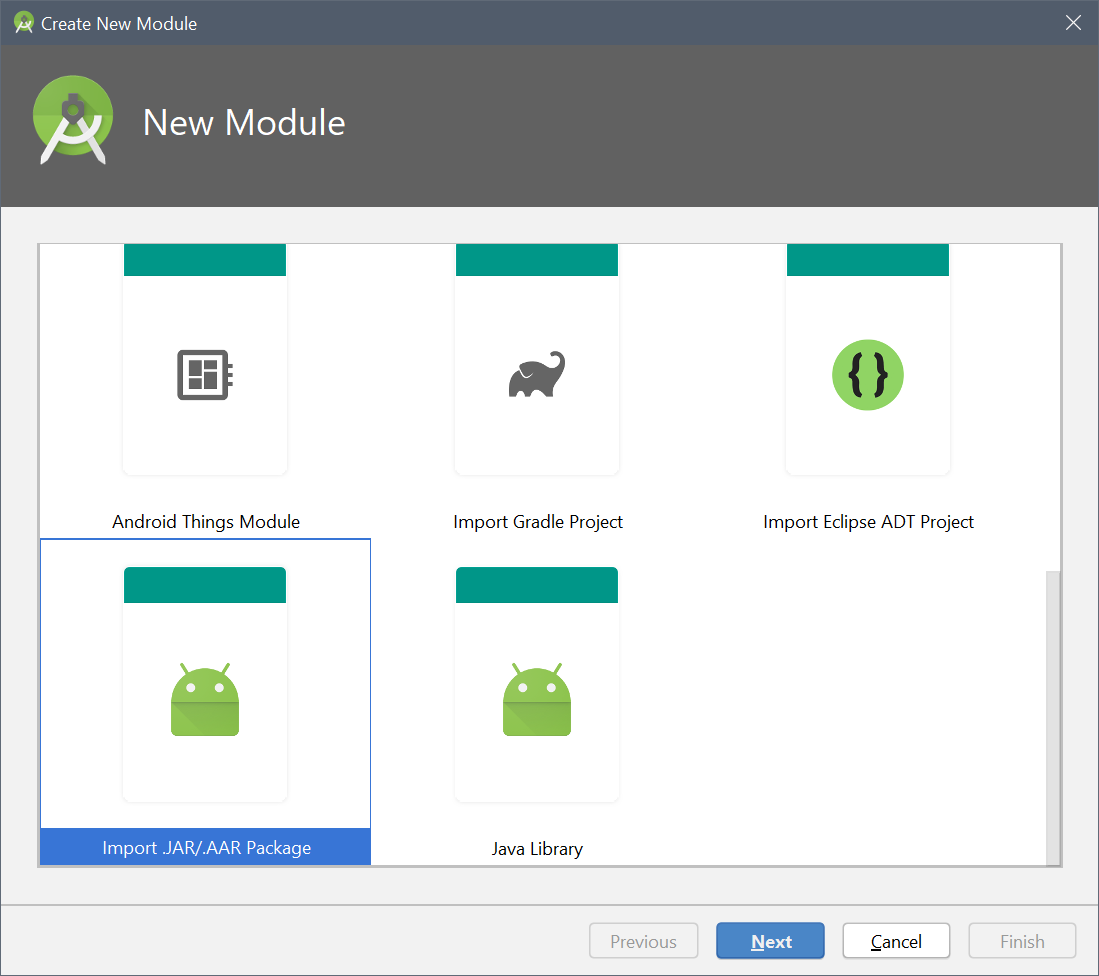
- Navigate to the SDK files you extracted and import the
.aarfile.
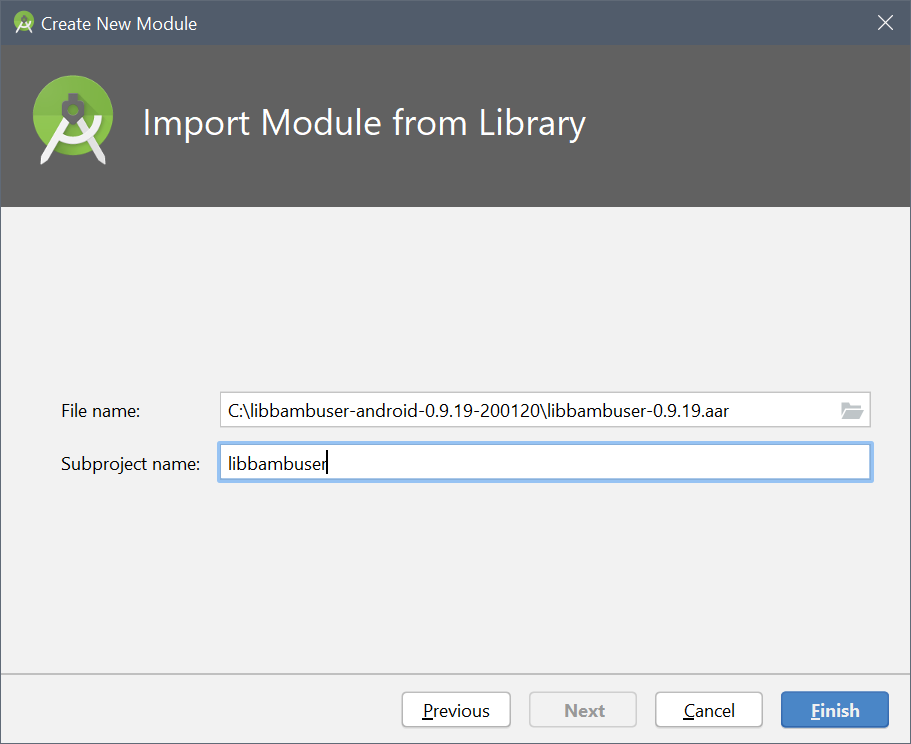
You may now need to close and reopen the Project Structure screen, for the library module
to show up in the list. Some recent versions of Android Studio fail to add new modules to the
settings.gradle file. If this happens, add include ':libbambuser' manually at the end of
the file and sync the project, then reopen the Project Structure screen.
- Switch to the Dependencies tab and keep the
appmodule selected. - Click the + in the dependency pane and choose Module dependency.
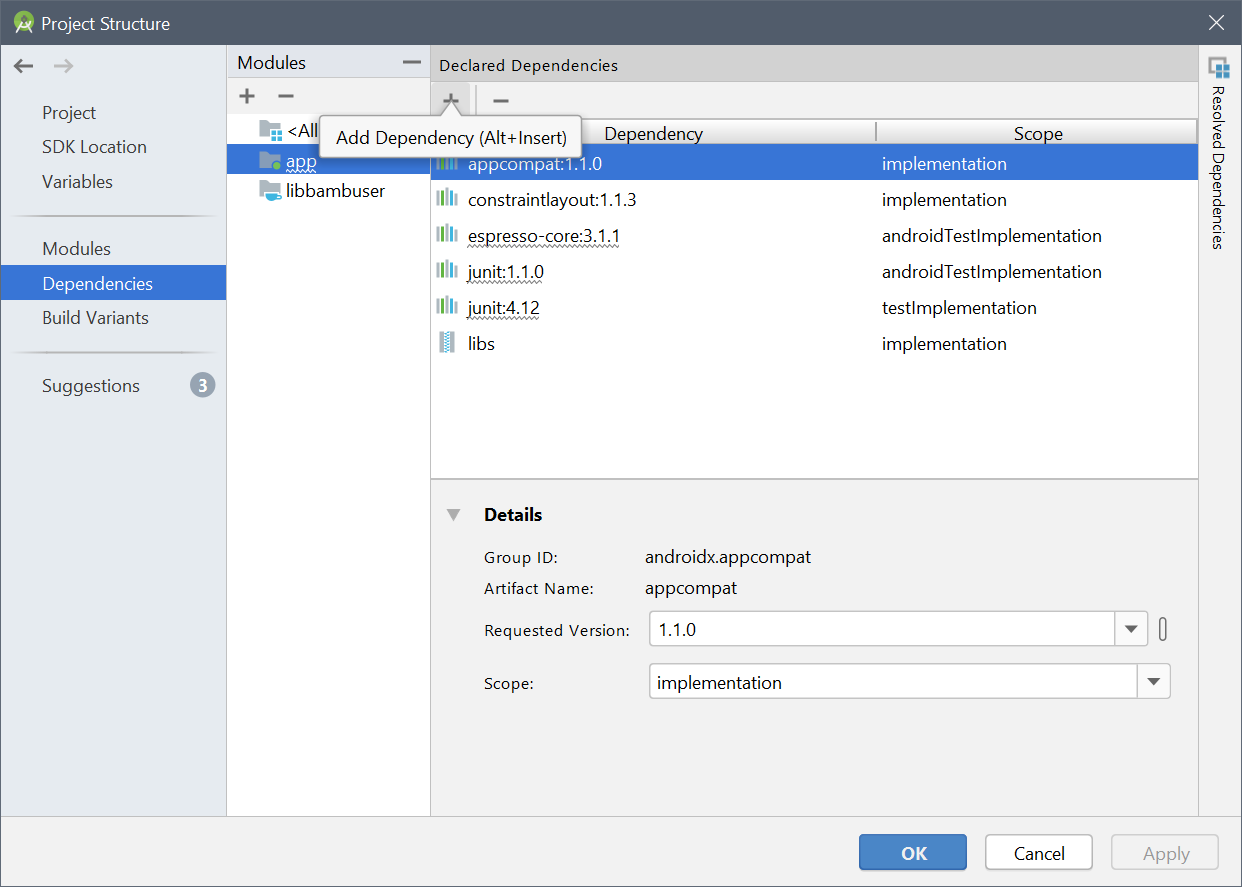
- Choose the imported library module, click OK

- Click OK to return from the Project Structure screen.
Configure Gradle to build for supported architectures
The Bambuser SDK contains native code built for the armeabi-v7a, arm64-v8a, x86
and x86_64 ABIs (opens new window). If you don't want to
bundle all of them, or if other libraries contain native code for other architectures, an ABI filter
is needed to ensure that the generated APK contains the greatest common denominator.
The armeabi-v7a and arm64-v8a ABIs (opens new window) are
compatible with all modern devices and ARM emulator images. The x86 and x86_64 ABIs are in practice
only necessary when developing on x86 emulator images, as real x86 devices can translate ARM machine code.
Open the
build.gradlefile for theappmodule.Add an NDK ABI filter to the
androiddefaultConfigblock. For example:
android {
    defaultConfig {
        // ...
        ndk {
            abiFilters 'armeabi-v7a', 'arm64-v8a'
        }
    }
}
Add required Android app permissions and features
The Bambuser broadcasting library for Android requires at least the following permissions for basic functionality: CAMERA (opens new window), RECORD_AUDIO (opens new window) and INTERNET (opens new window). We also recommend adding the ACCESS_NETWORK_STATE (opens new window) and WAKE_LOCK (opens new window) permissions at this point.
Additionally, to achieve
suitable filtering (opens new window)
of your app in the Google Play store, you should declare <uses-feature /> tags relevant for apps
that rely on the camera.
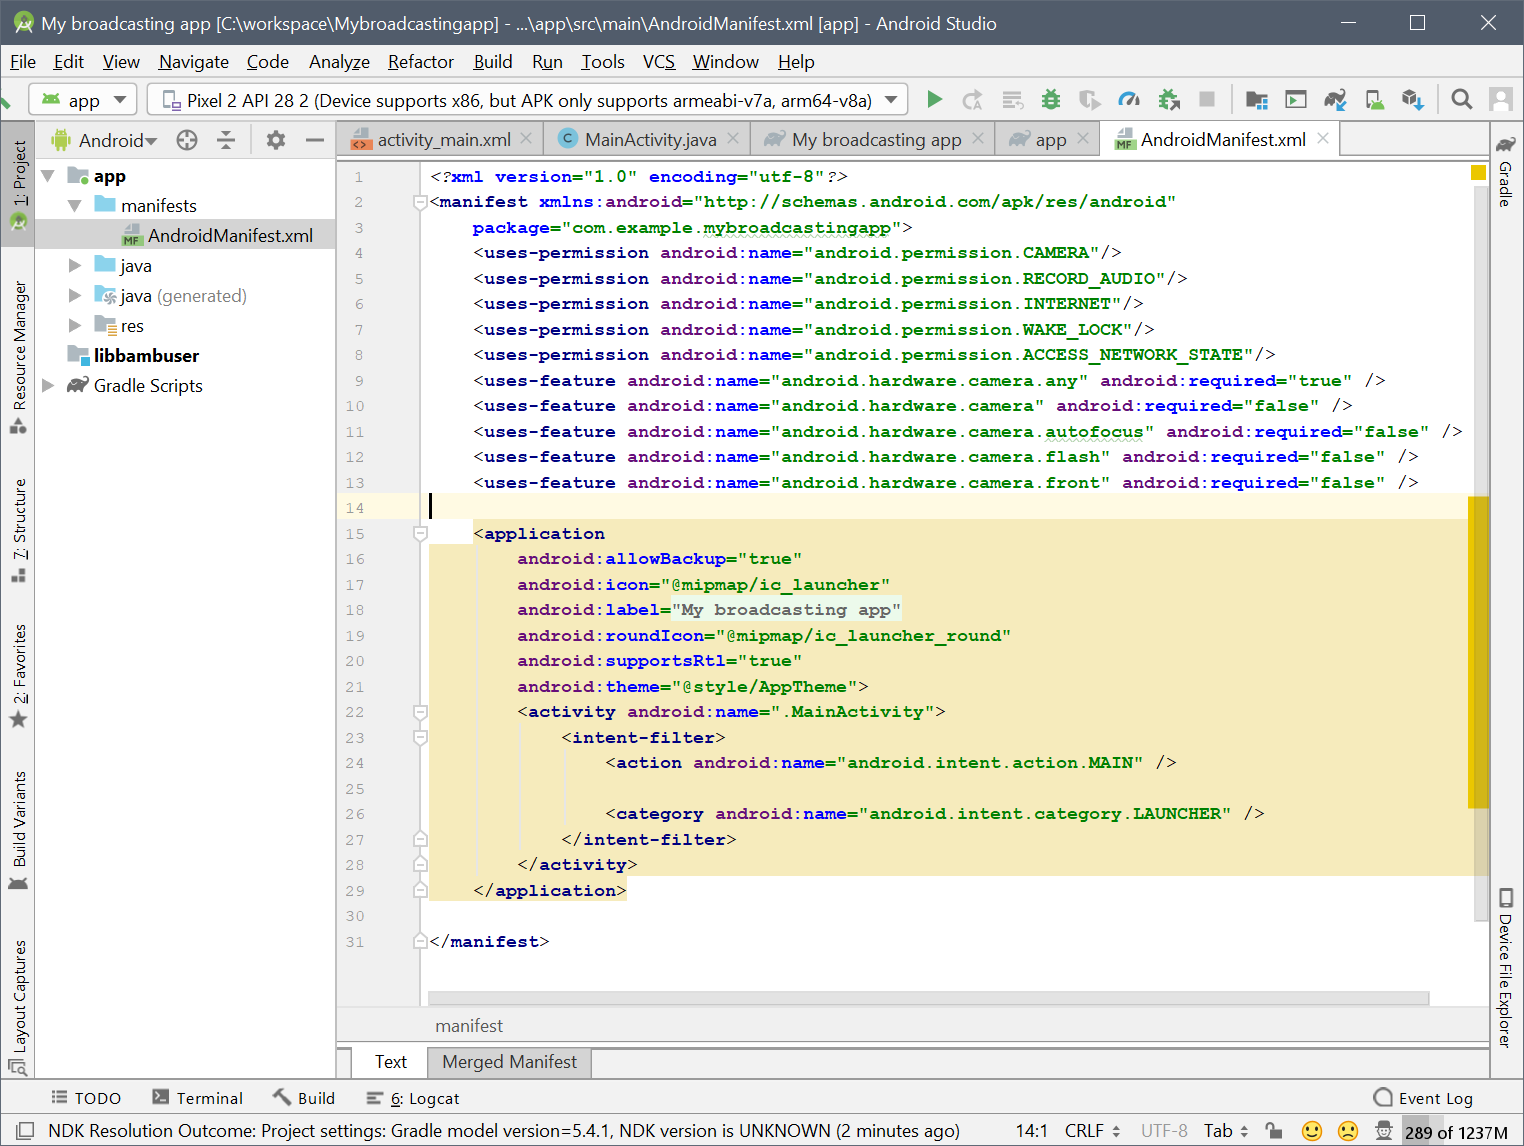
Open the
manifests/AndroidManifest.xmlfile in the Project tree on the left.Add the following tags for permissions and features, before the
<application />tag:
<uses-permission android:name="android.permission.CAMERA"/>
<uses-permission android:name="android.permission.RECORD_AUDIO"/>
<uses-permission android:name="android.permission.INTERNET"/>
<uses-permission android:name="android.permission.WAKE_LOCK"/>
<uses-permission android:name="android.permission.ACCESS_NETWORK_STATE"/>
<uses-feature android:name="android.hardware.camera.any" android:required="true" />
<uses-feature android:name="android.hardware.camera" android:required="false" />
<uses-feature android:name="android.hardware.camera.autofocus" android:required="false" />
<uses-feature android:name="android.hardware.camera.flash" android:required="false" />
<uses-feature android:name="android.hardware.camera.front" android:required="false" />
Since Android 6.0, the above is not enough. Certain
permissions must be approved (opens new window)
by the end-user at runtime. In the generated MainActivity.java, check for and request any
missing permissions:
import android.Manifest;
import androidx.appcompat.app.AppCompatActivity;
import androidx.core.app.ActivityCompat;
// ...
public class MainActivity extends AppCompatActivity {
    @Override
    public void onResume() {
        super.onResume();
        if (!hasPermission(Manifest.permission.CAMERA)
            && !hasPermission(Manifest.permission.RECORD_AUDIO))
            ActivityCompat.requestPermissions(this, new String[] {Manifest.permission.CAMERA,
                Manifest.permission.RECORD_AUDIO}, 1);
        else if (!hasPermission(Manifest.permission.RECORD_AUDIO))
            ActivityCompat.requestPermissions(this, new String[] {Manifest.permission.RECORD_AUDIO}, 1);
        else if (!hasPermission(Manifest.permission.CAMERA))
            ActivityCompat.requestPermissions(this, new String[] {Manifest.permission.CAMERA}, 1);
    }

    private boolean hasPermission(String permission) {
        return ActivityCompat.checkSelfPermission(this, permission) == PackageManager.PERMISSION_GRANTED;
    }
    // ...
}
This is enough for our minimal example. In practice, you should also at least implement onRequestPermissionsResult() in case the user rejects any of the requested permissions.
Add the viewfinder
In activity_main.xml replace the auto-generated TextView with a
SurfaceViewWithAutoAR (opens new window).
<com.bambuser.broadcaster.SurfaceViewWithAutoAR
    android:id="@+id/PreviewSurfaceView"
    android:layout_width="wrap_content"
    android:layout_height="wrap_content"
    android:layout_centerInParent="true"
    app:layout_constraintEnd_toEndOf="parent"
    app:layout_constraintStart_toStartOf="parent"
    app:layout_constraintTop_toTopOf="parent" />
By switching from the Design tab to the Text tab near the bottom, you can access the XML representation and paste the snippet above.
- In the generated
MainActivity.javaimport and add a reference to the SurfaceView (opens new window) from the layout.
import android.view.SurfaceView;
// ...
public class MainActivity extends AppCompatActivity {
    @Override
    protected void onCreate(Bundle savedInstanceState) {
        // ...
        mPreviewSurface = findViewById(R.id.PreviewSurfaceView);
    }
    SurfaceView mPreviewSurface;
}
Authentication
To be able to broadcast, your app needs to identify itself to Bambuser. Head over to the Developer (opens new window) page on the Bambuser site again and get the Sandbox applicationId, which we'll use when constructing the Broadcaster (opens new window).
WARNING
Remember to replace the Sandbox id with a Production applicationId before you release your app!
Bootstrap the SDK
Prepare MainActivity.java for integration of the
Broadcaster (opens new window) by
importing the related classes and adding an implementation of the
Broadcaster.Observer (opens new window)
interface:
import com.bambuser.broadcaster.BroadcastStatus;
import com.bambuser.broadcaster.Broadcaster;
import com.bambuser.broadcaster.CameraError;
import com.bambuser.broadcaster.ConnectionError;
// ...
public class MainActivity extends AppCompatActivity {
    // ...
    private Broadcaster.Observer mBroadcasterObserver = new Broadcaster.Observer() {
        @Override
        public void onConnectionStatusChange(BroadcastStatus broadcastStatus) {
        }
        @Override
        public void onStreamHealthUpdate(int i) {
        }
        @Override
        public void onConnectionError(ConnectionError connectionError, String s) {
        }
        @Override
        public void onCameraError(CameraError cameraError) {
        }
        @Override
        public void onChatMessage(String s) {
        }
        @Override
        public void onResolutionsScanned() {
        }
        @Override
        public void onCameraPreviewStateChanged() {
        }
        @Override
        public void onBroadcastInfoAvailable(String s, String s1) {
        }
        @Override
        public void onBroadcastIdAvailable(String s) {
        }
    };
    // ...
}
Add the applicationId, and in the onCreate(Bundle) method create an instance of the Broadcaster (opens new window) class. Override and forward the Activity (opens new window) lifecycle events necessary for init and release of the camera.
// ...
public class MainActivity extends AppCompatActivity {
    private static final String APPLICATION_ID = "PLEASE INSERT YOUR APPLICATION SPECIFIC ID PROVIDED BY BAMBUSER";
    @Override
    protected void onCreate(Bundle savedInstanceState) {
        // ...
        mBroadcaster = new Broadcaster(this, APPLICATION_ID, mBroadcasterObserver);
    }
    @Override
    public void onDestroy() {
        super.onDestroy();
        mBroadcaster.onActivityDestroy();
    }
    @Override
    public void onPause() {
        super.onPause();
        mBroadcaster.onActivityPause();
    }
    @Override
    public void onResume() {
        // ...
        mBroadcaster.setCameraSurface(mPreviewSurface);
        mBroadcaster.onActivityResume();
    }
    // ...
    Broadcaster mBroadcaster;
}
Screen rotation and keep-awake
To rotate the camera preview and live video according to the rotation of the device, forward the display rotation to the Broadcaster (opens new window) in onCreate(Bundle) and onResume().
mBroadcaster.setRotation(getWindowManager().getDefaultDisplay().getRotation());
To prevent the screen from going to sleep, set FLAG_KEEP_SCREEN_ON (opens new window) when a broadcast starts and clear it when the broadcast ends.
Import the WindowManager (opens new window) class where the flag is found:
import android.view.WindowManager;
Then add an implementation to the empty onConnectionStatusChange(BroadcastStatus broadcastStatus)
callback in the
Broadcaster.Observer (opens new window)
you created earlier:
@Override
public void onConnectionStatusChange(BroadcastStatus broadcastStatus) {
    if (broadcastStatus == BroadcastStatus.STARTING)
        getWindow().addFlags(WindowManager.LayoutParams.FLAG_KEEP_SCREEN_ON);
    if (broadcastStatus == BroadcastStatus.IDLE)
        getWindow().clearFlags(WindowManager.LayoutParams.FLAG_KEEP_SCREEN_ON);
}
Add a broadcast button
Add a simple Button (opens new window) in the
activity_main.xml layout:
<Button android:id="@+id/BroadcastButton"
    android:text="Broadcast"
    android:layout_width="wrap_content"
    android:layout_height="wrap_content" />
Import relevant classes for a Button (opens new window)
and make it respond to clicks in MainActivity.java:
import android.view.View;
import android.widget.Button;
// ...
public class MainActivity extends AppCompatActivity {
    @Override
    protected void onCreate(Bundle savedInstanceState) {
        // ...
        mBroadcastButton = findViewById(R.id.BroadcastButton);
        mBroadcastButton.setOnClickListener(new View.OnClickListener() {
            @Override
            public void onClick(View v) {
                if (mBroadcaster.canStartBroadcasting())
                    mBroadcaster.startBroadcast();
                else
                    mBroadcaster.stopBroadcast();
            }
        });
    }
	// ...
	Button mBroadcastButton;
}
Update the button label depending on broadcast state:
@Override
public void onConnectionStatusChange(BroadcastStatus broadcastStatus) {
    // ...
    mBroadcastButton.setText(broadcastStatus == BroadcastStatus.IDLE ? "Broadcast" : "Disconnect");
}
Log events from the app
Get primitive status updates from the app by logging some of the events in the Broadcaster.Observer (opens new window) interface:
import android.util.Log;
// ...
public class MainActivity extends AppCompatActivity {
    // ...
    private Broadcaster.Observer mBroadcasterObserver = new Broadcaster.Observer() {
        @Override
        public void onConnectionStatusChange(BroadcastStatus broadcastStatus) {
            Log.i("Mybroadcastingapp", "Received status change: " + broadcastStatus);
            // ...
        }
        @Override
        public void onConnectionError(ConnectionError connectionError, String s) {
            Log.w("Mybroadcastingapp", "Received connection error: " + connectionError + ", " + s);
        }
        // ...
    };
}
Running the app
Connect your mobile device to your PC and follow the Android Developers guide for running your app (opens new window).
If everything is set up correctly, you should be able to start your first broadcast from your app by tapping the button we added earlier.
When broadcasting successfully with a valid applicationId, a filtered device log in Android Studio would contain the following output from the example code above:
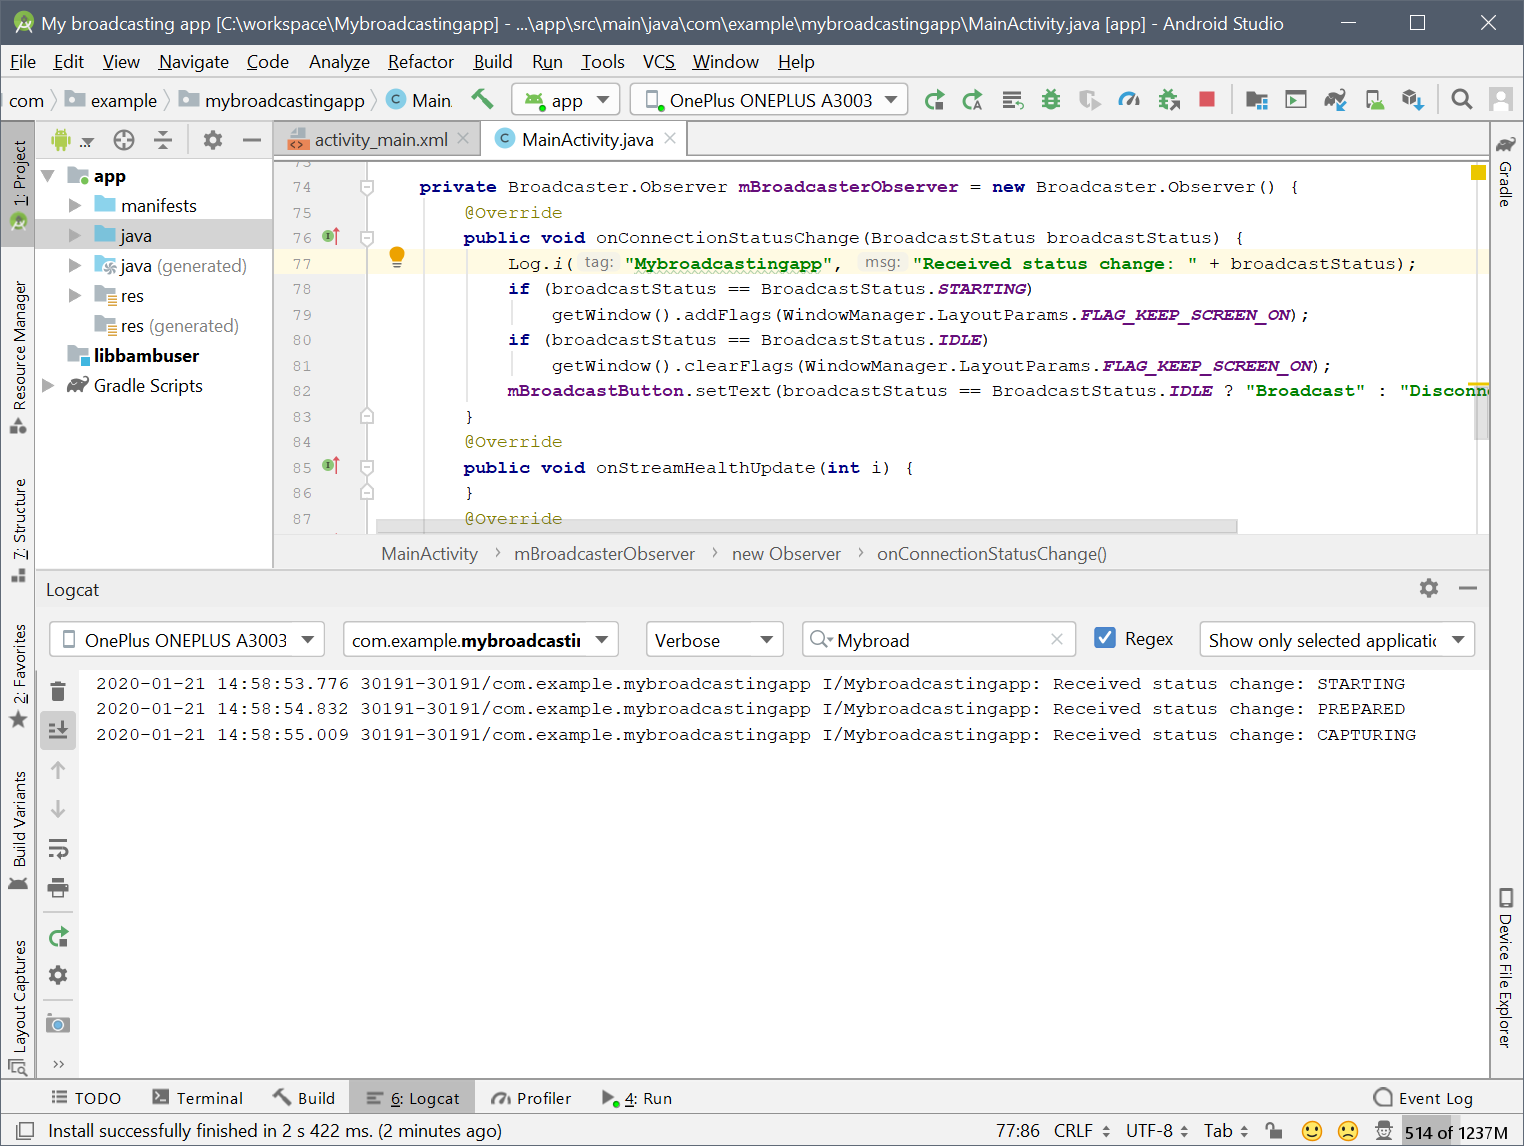
Check the Content page (opens new window) when logged in on the Bambuser site to view the broadcast when you go live in Sandbox mode.
What's next
Be sure to experience a few of your live broadcasts via the Sandbox player on the Bambuser website.
Consider whether you also need a player in your app and / or on your website.
Study the REST APIs (opens new window) and Webhooks, which can be used to make your backend broadcast-aware.