Microsoft SSO
Overview
Connecting Bambuser to Microsoft Office Azure will allow you to partially manage users via Active Directory instead of the Bambuser dashboard. This integration is only available in Azure through the public Bambuser Azure application.
Requirements:
- Enterprise Azure Portal account
Manage Userspermission in Bambuser dashboard
Onboarding
Onboarding is possible to manage with Just-in-time (JIT) via Microsoft Azure. You will have Bambuser as an Azure-managed application and can assign groups or users to the application, or let users get automatically assigned to the application when they log in. No manual management within the Bambuser dashboard is necessary.
Offboarding
Due to Just-in-time (JIT) provisioning, users' access rights get updated at every login attempt. This implies that when you offboard your users via Active Directory, they will not immediately lose access to the Bambuser dashboard. To remove the access, a manual step needs to be completed by also removing the access in the Bambuser dashboard. However, if the user logs out from the Dashboard after the termination has been completed in Active Directory, the user will be blocked when trying to log in again (due to the JIT provisioning).
Alternatives: Bambuser’s public API can be used to integrate SCIM on your end. This will imply a fully automated access management via Azure.
Changeboarding
Roles will be managed in Active Directory. Changing roles in the Bambuser dashboard will not work and will be overwritten by what you set in Active Directory when users log into the dashboard again.
Upon request, Bambuser can disable user modification through Bambuser dashboard, if you want to manage users only from Active Directory.
Authentication
Microsoft Azure can fully manage the authentication. Bambuser doesn’t automatically disable the other login methods when SSO is implemented.
Testing
OIDC is not tied to a domain. This implies that login tests can be made with the same email domain that is supposed to be used in the production environment.
To enable this, you would have to communicate to Bambuser Staff to allow Microsoft SSO on your dashboard. You will have to provide them with:
- Microsoft Tenant ID You will find that in your own Azure Active Directory, after installing the app by following the steps below.
- How you'd like to manage user access Whether you'd want to manage user access from your own Active Directory, and not from the Bambuser dashboard or vice versa.
Installing the app
-
Install Bambuser Live Video Shopping app from Azure Marketplace. You should install this application for all users.
-
After installation, you will be able to find the application in the Azure Portal
-
All users in the Active Directory will also be able to find the Bambuser app (picture below)

-
Assign the admin roles, in Azure Portal, for the Bambuser Live shopping account.
User management
If you want to manage users from Active Directory instead of the Bambuser dashboard, you will have to communicate that to the Bambuser Staff, to enable that for your dashboard.
When that is enabled, trying to change roles of the users in the Bambuser dashboard will not work and will be overwritten by what you set in Active Directory when users log into the dashboard again.
Add roles to users
This section is based on the Azure UI, which is subject to change and out of Bambuser control. The Azures official documentation for doing this in general can be found here.
-
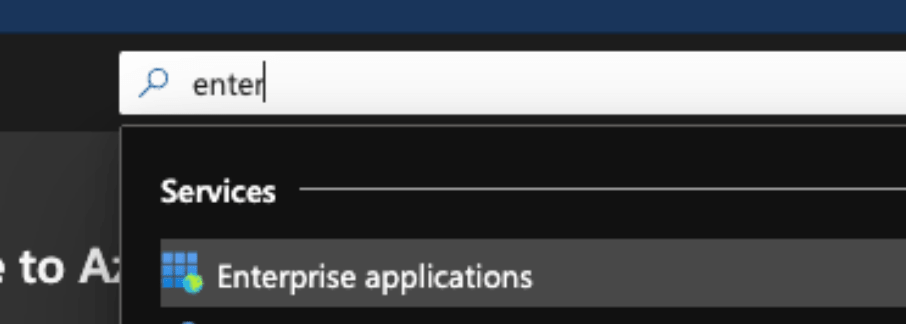
Navigate to Enterprise Applications (can also be found by searching for it in the Azure Portal)
-
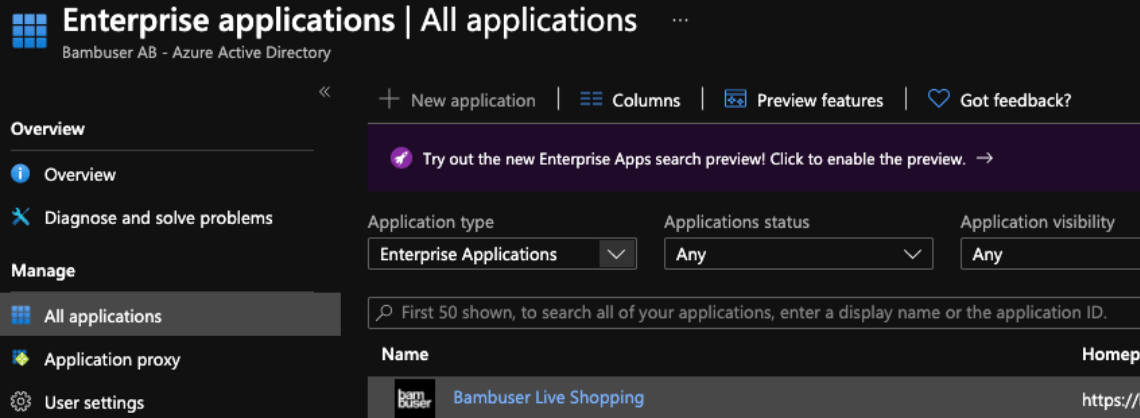
Find the newly installed application called "Bambuser Live Shopping" in the list of applications.
-
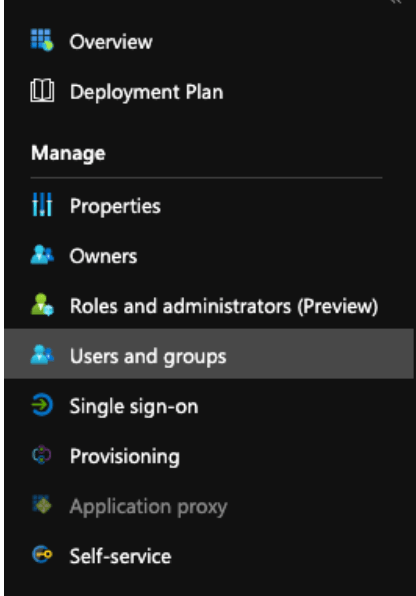
From the side menu, navigate to Users and Groups
-
Press the plus ➕ sign next to Add user/group from the top navigation menu

-
Under Users and Groups, select
None selected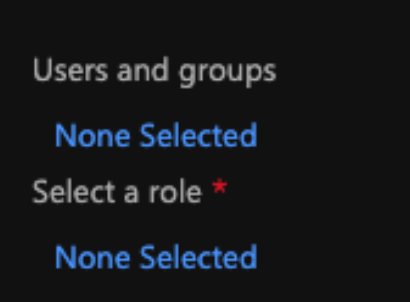
-
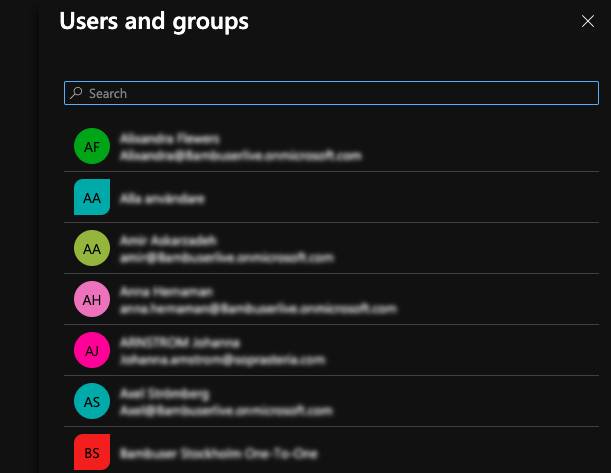
A pane will be opened to the right. Here you can search for users you want to enable administrator rights to, in the Bambuser Dashboard.
-
Choose the users you want and press the Select button at the bottom of the pane when you are done.
-
Press
None Selectedunder Select a role section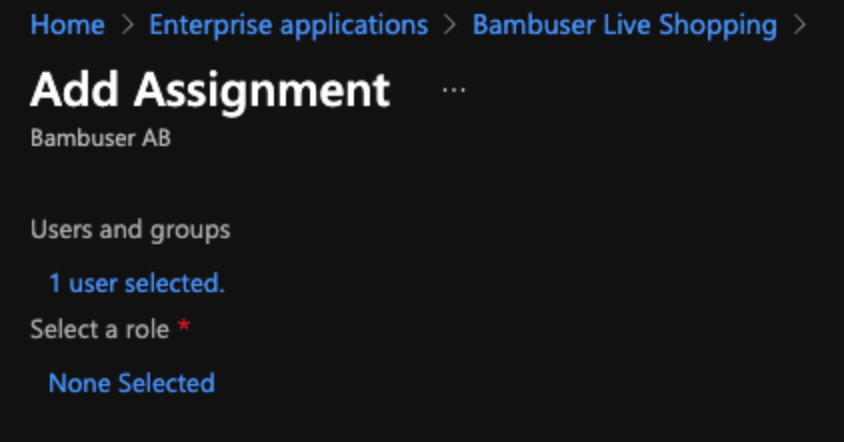
-
A new pane with roles will open to the right. Chose the roles you want to give to selected users, and press
Selectat the bottom.
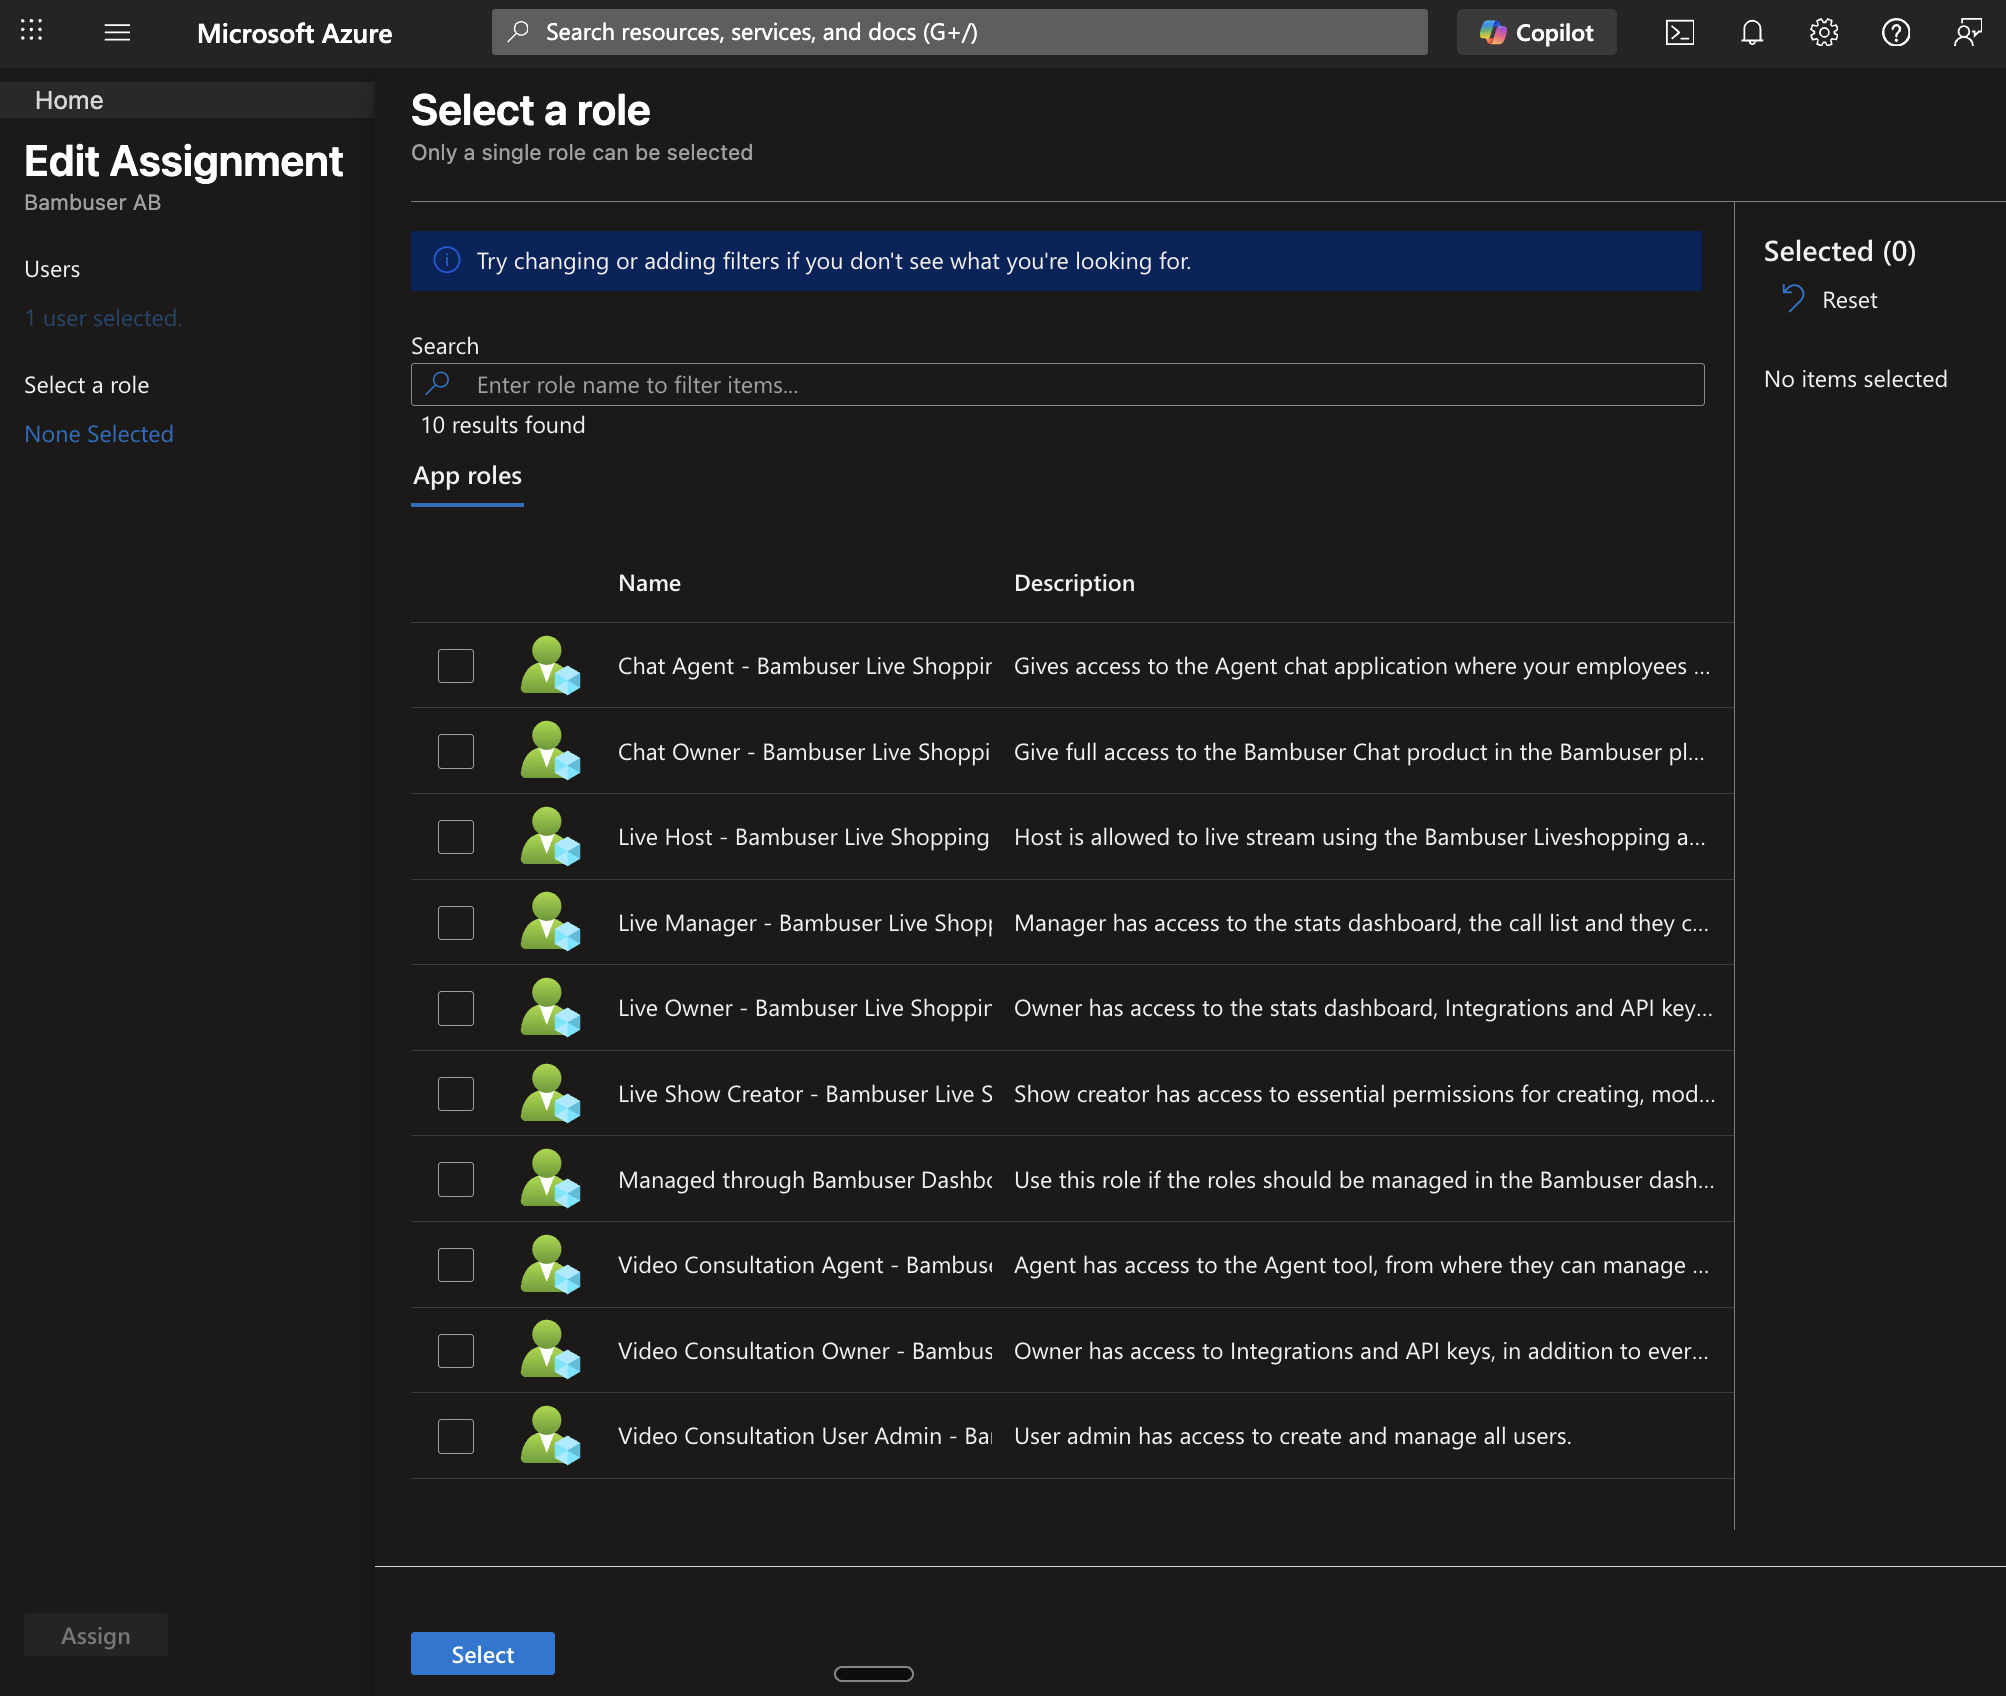
List of roles
If you are managing users directly though Active Directory, you will not be able to further modify permissions for a selected role.
-
At the bottom left, press
Assign -
These roles will be later assigned to the Bambuser users during login using MS SSO.
Microsoft Azure SSO App FAQ
No, the application available on the Microsoft Azure Marketplace is the public version. However, users may have separate Azure ADs for development purposes. You could install the app in your production Azure AD and utilize Sandbox workspace for testing.
Yes, the application servers have unrestricted internet communication. Specifically, the backend fetches public keys from Microsoft Azure to validate JWT payloads during the OIDC login flow.
The application is built using NodeJS and JavaScript.
By default, email addresses serve as the unique identifiers for accounts.
Different access levels and roles are managed through workspace roles. These roles are also listed within the Azure app. However, for a multi-workspace setup, users must configure groups for each role per workspace and share the corresponding group IDs with us.
No. We have implemented non-expiring sessions to optimize quick access and ensure that users do not miss calls or notifications from the system once they are logged in.
Application logoffs only affect the application itself and do not log users out of their Microsoft accounts. Upon logoff, users are redirected to the Bambuser login page, which includes the option to sign in with Microsoft.
The essential data for sharing includes the tenant ID and the various group IDs assigned to specific roles and workspaces. The configuration of URIs and the manifest file is automatically handled within the Azure Marketplace app upon installation in the Azure AD.